In today’s digital world, knowing how to capture your screen is an essential skill.
Whether you’re troubleshooting a technical issue, saving important information, or sharing a memorable moment, screenshots are incredibly useful.
This guide will walk you through multiple methods of taking screenshots on Windows, ensuring you’re prepared for any situation.
Different Ways to Take Screenshots on Windows
1. Full Screen Screenshot Method
Taking a full-screen screenshot is straightforward:
- Locate the ‘Print Screen’ (PrtScrn) key on your keyboard
- Press the key to capture the entire screen
- Open Microsoft Paint
- Press ‘Ctrl + V’ to paste the screenshot
- Save the image in your preferred location
Pro Tip: Use ‘Alt + Print Screen’ to capture only the active window.
2. Partial Screen Screenshot Using Snipping Tool
For more precise captures:
- Open the Snipping Tool (search in the Start menu)
- Click ‘New’
- Use the crosshair cursor to select your desired area
- Release the mouse button
- Save the screenshot
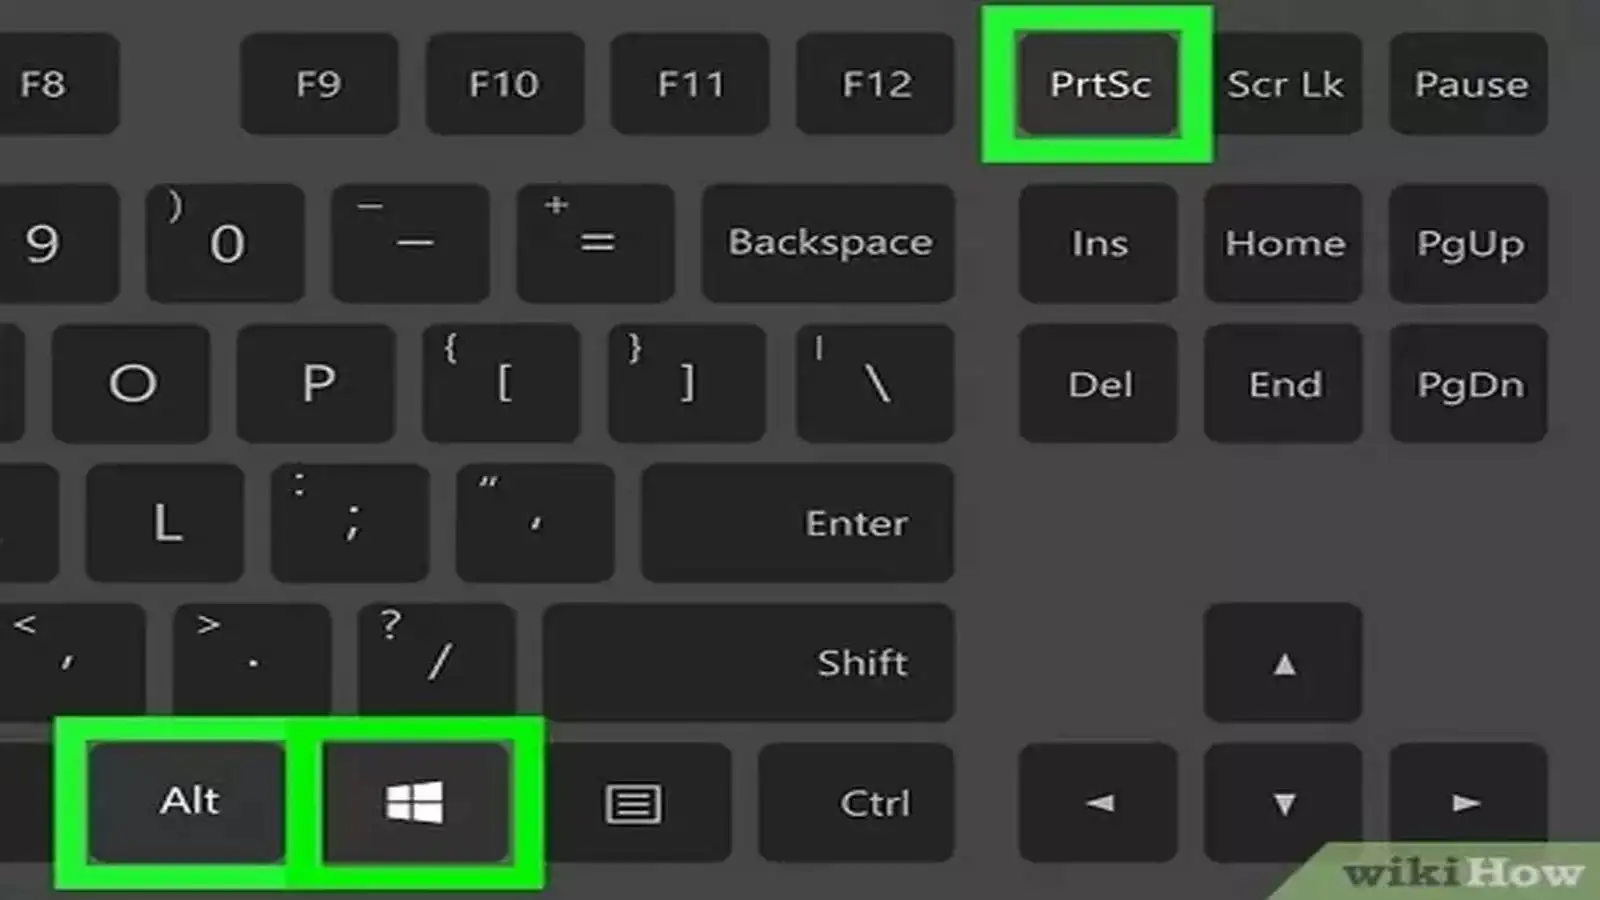
3. Windows 10/11 Quick Screenshot Method
- Press ‘Windows Key + Print Screen’
- The screenshot automatically saves in the Pictures > Screenshots folder
4. Screen Recording with Xbox Game Bar
Windows 10 and 11 include a built-in screen recording feature:
- Press ‘Windows Key + Alt + R’
- A recording widget appears
- Adjust microphone settings if needed
- Stop recording using the same key combination
Note: Xbox Game Bar can’t record the desktop or File Explorer.
Alternative Screenshot Methods
If the built-in methods don’t work:
- Use third-party screen capture software
- Search for device-specific screenshot instructions
- Check app stores for screen recording applications
Troubleshooting Tips
- Ensure you’re using the latest Windows version
- Update keyboard drivers
- Restart your computer if screenshot functions aren’t working